
Sew the back yoke facing to the back lining assembly, right sides together, with ¾" seam allowance.
Trim the seam allowances to ⅜" and press open.


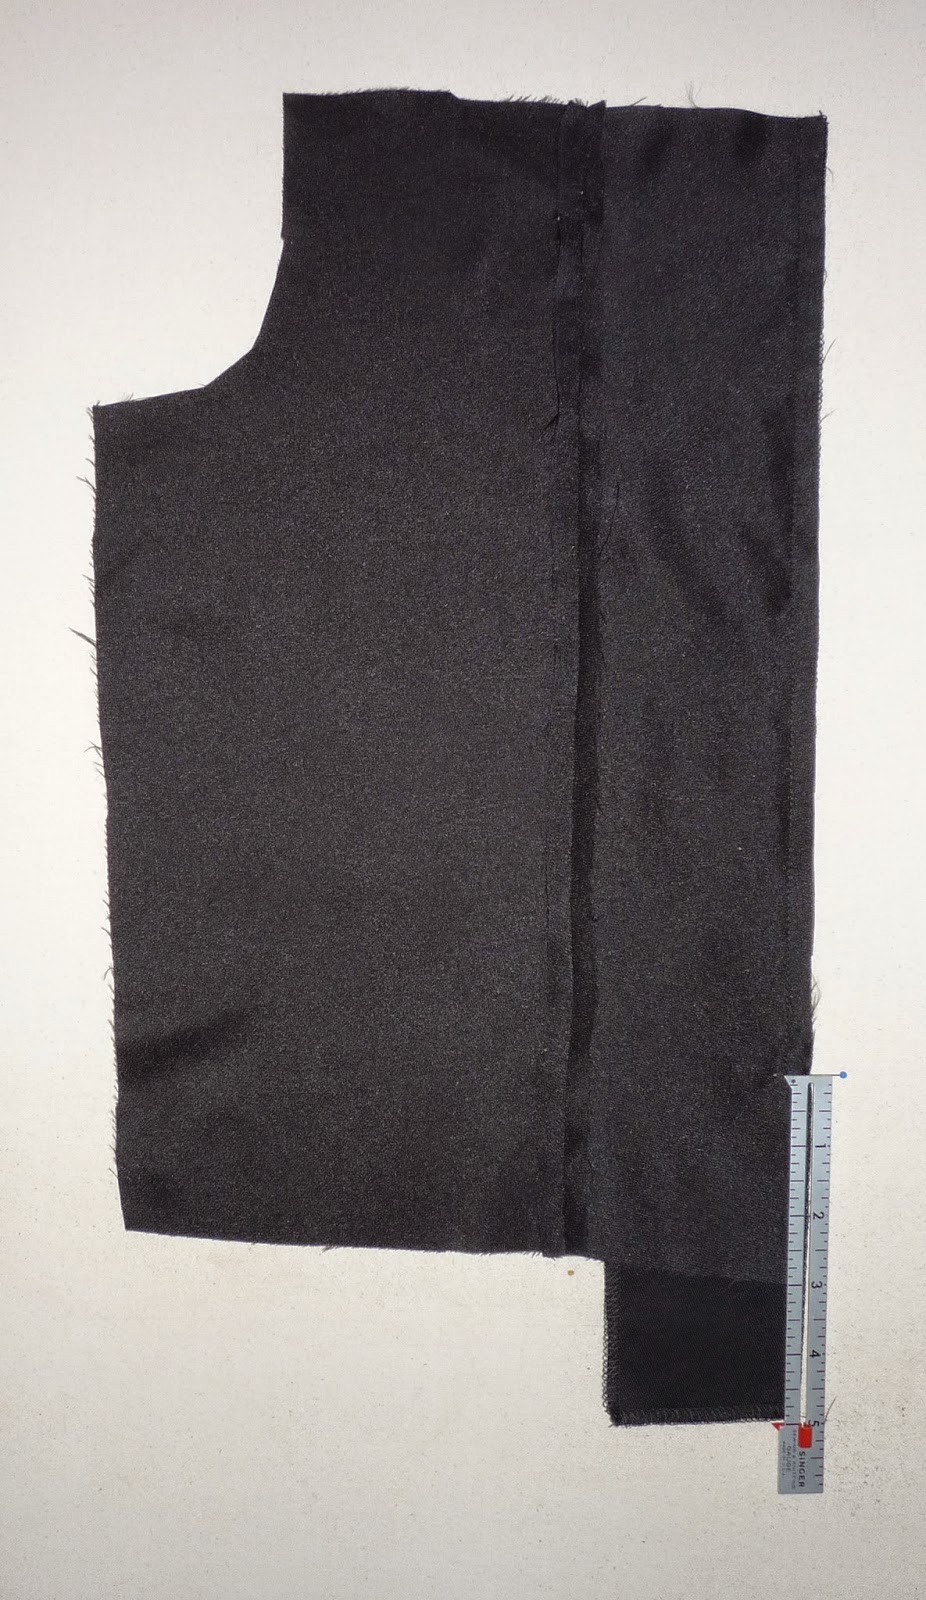
Pin the front facing (piece I) to the centermost front lining assembly, with upper side/open edges flush and right sides together. The front facing will overhang the bottom of the center front lining by 2".
Beginning at the top, sew the front facing to the front lining assembly, stopping 3" from the bottom of the lining.
Press the seam allowances toward the lining, including the bottom (un-sewn) centermost edge of lining.
 |
 |
Sew the front yoke facing to the front lining assembly, right sides together, with ¾" seam allowance.
Trim the seam allowances to ⅜" and press open.


Sew the front lining assembly to the back lining assembly at the shoulder seam and press seam allowances open.
Repeat for the other side.
Sew the sleeve lining (piece Q) to the lining assembly, matching edges and notches.
Repeat for the other side.
Close the lining assembly sides and sleeves in one continuous stitch, as done previously with the jacket body, and press seam allowances open.
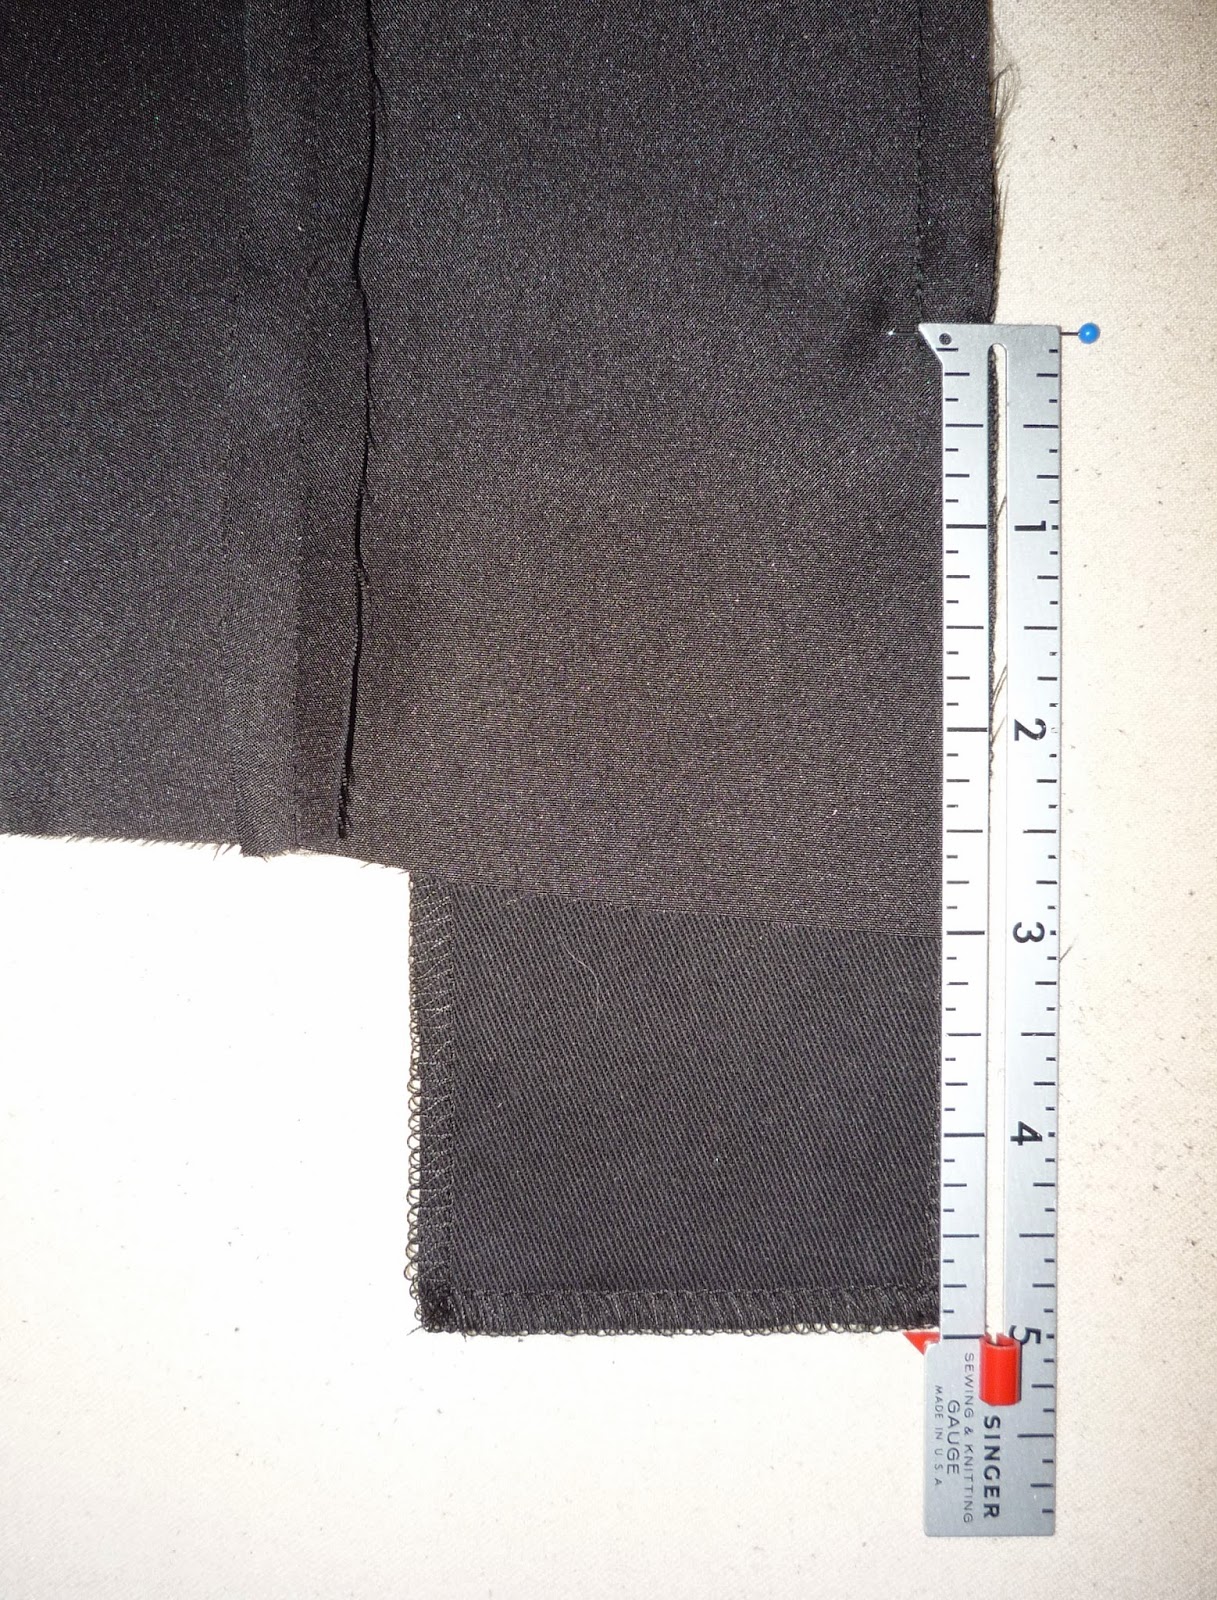
Press the bottom of the sleeve linings upward ⅜" toward the wrong side.

Press the bottom of the lining body assembly upward ⅜" toward the wrong side as well.

Your jacket's lining assembly should now look like this:

No comments:
Post a Comment